
Rendering is the most computationally intensive part of 3D animation. The part where having the computer with the fastest processor and the most memory really comes in handy. At Abbott Media we do quite a lot of rendering. To give you an idea, a single frame of animation can take up to three hours to complete. Multiply that by thirty frames for every second of video, and you are easily looking at weeks or months to complete just a minute’s worth of animation! By distributing frames across multiple computers we can significantly reduce the amount of time it takes to finish a sequence. This is where the “render farm” comes in. What is a render farm you ask? Simply put, it’s a bunch of computers that are networked together whose sole task it is to render all day long. A couple of quick notes on render farm lingo. The computers that make up the render farm are called “nodes”, and the nodes are typically mounted in racks, as opposed to the desktop or laptop form-factor that most people are used to seeing. They’re also “headless”, which means that no displays are attached to them since the artists don’t directly interact with the farm.
At AMP we use Lightwave as our primary animation platform. It’s a very complete package for the price and comes with a stand-alone renderer that can be used on an unlimited number of render nodes with a single license. It also works well across both PC and mac platforms and runs great on standard desktop components. Instead of buying big expensive server-grade render nodes we build our own render nodes with typical off-the-shelf hardware for a fraction of the cost. This means a small studio like Abbott Media can stay highly competitive with minimal capital expenses.
Up until now our farm consisted of seven quad-core Intel i7 processors with 16 gigs of RAM each. Since we are running low on rack space and with the introduction of the Intel LGA 2011 chipset, we’ve been toying with the idea of building newer render nodes with 6-core processors. The less expensive 6-core K series processors are very easy to overclock. If you compare, two 6-core nodes give you about the same performance as three quad-core nodes for about the same price and take up less rack space.
The idea is to build an inexpensive computer purpose-built for rendering with quality components. This means having many cores, running at high clock speeds, paired with quality low-latency RAM, all for the best possible value. Since the nodes are not used as desktop computers and write their rendered frames to a network drive, we can save money on graphics cards and hard disks.
So, for the real reason you are here, this is our build.

First things first. I want to talk a little bit about the case. You can certainly find smaller cases, but we really like the ARK Technology 3U Rackmount Server Case simply because it fits standard computer components very easily. If a power supply fails, it can be replaced with a standard affordable power supply from a computer shop here in town. The other nice thing about this case is airflow. It has two 80mm fans up front and two 60mm fans in the rear and is surprisingly quiet for a server case. It also has a pretty slick removable air filter in the front for easy cleaning. The size also affords us lots of options for larger CPU coolers and bigger graphics cards if we ever needed to upgrade.


For the motherboard we decided on the Gigabyte GA-X79-UD3, primarily for the quality you get for the price as well as its easy overclocking tools. The board has many other features that are beyond the scope of this post and that, frankly, will probably never be used. When choosing your motherboard, choose a brand you trust and select the board that offers everything you actually need. For a render node, most of the time that’s actually very little. Something to note here is that server grade motherboards are designed for this particular orientation. A server case will optimize the placement of the RAM and other components for better airflow in a front-to-back configuration rather than bottom-to-top like a typical desktop case. This is important if you decide to go with a smaller case. Since we are using a larger 3U case, we still get plenty of cooling with desktop components, saving quite a bit of money.

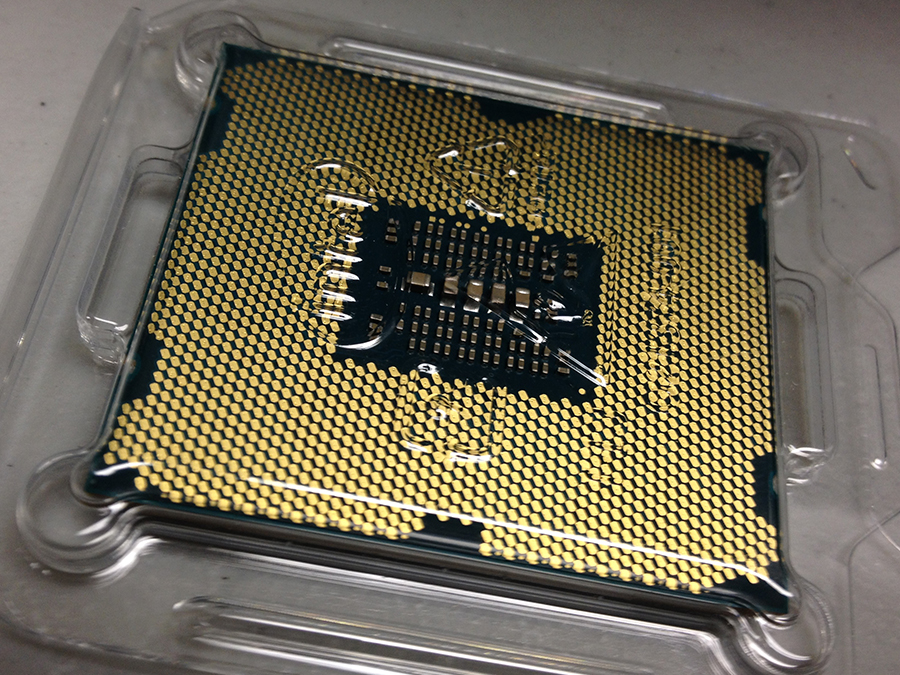
The heart of the node is an Intel Core i7-4930K Ivy Bridge processor. If you plan to do heavy overclocking you may consider using the older Sandy Bridge variant as the 32nm architecture will give you more head room. We went with the newer Ivy Bridge simply because it’s more efficient per clock and won’t need to be overclocked as high to get the same performance.


We purchased an Antec 650 EarthWatts power supply. Nothing fancy here. It has enough power to overclock our CPU, and run a mid-range graphics card with a little juice to spare. I have used these Antec EarthWatts power supplies for years and never had a problem.


Since we are planning to overclock our CPU, cooling will be very important. I really like the Corsair closed-loop liquid coolers. We have been using the H100 in one of our workstation for a couple years and it has been maintenance-free, whisper quiet, and keeps the machine very cool under some pretty demanding workloads. Since the H100 is too big for our case, we decided on the H80i. It has two 120mm fans in a push/pull configuration and fits very nicely in place of the two 80mm fans up front.

I was able to screw the whole radiator and fan assembly to the bracket that originally held the 80mm fans.


Once the drive cages where removed, the cooler fits into the case very nicely. Don’t forget about your cable management for better airflow.


I am a big fan of GSkill ram. I have been using them since our first build and I have never sent a stick back. It’s low-latency, high quality and is very affordable. These machines run 24/7 and high quality RAM is very important for stability and performance.

Since we removed all of our 3 ½” drive bays, we had to get a 3 ½” to 5 ¼” adapter so we could install our system drive into one of the front drive bays.


The final component is our graphics card. Depending on your application you may only need a graphics card so your computer will post. If you are only rendering and not using the GPU, you can simply install a cheap $30 card to get your computer going. We occasionally use our farm to render large After Effects projects which can be very GPU intensive. We decided on a GTX 650 as a mid-range card that could help out a little in this regard, since we needed to buy graphics cards anyway. Had we gone with the LGA 1155 or 1156 like our other i7 quad core nodes, the graphics card is integrated with the CPU.


After everything is assembled, we are ready to install the OS. I use a spare CD drive that I plug in to the motherboard temporarily to install Windows 7.


And voila. With a little fiddling I was able to get both 6-core render nodes to run at 4.2 GHz and stay below 60 degrees Celsius at 100% load! For the price, these guys really scream.